Tuesday, May 10, 2011

P(r)esto!

This story begins with the convenient appropriation of a rather large bunch of fresh basil (one of the major perks of working at a plant nursery).

What better to do with a bunch of basil than whip up some classy pesto? I actually bought an ice cube tray last week specifically in the hopes that I would have a batch of pesto to freeze in 'em! (I'm a nerd, yes I am). I washed the basil as soon as I got home and put the bunch in a glass with water to keep it fresh while I ran to the grocery store for the fixin's for my newest creation.


Springtime Sausage Pasta
______________
(Yield: 1 Serving)

Ingredients
One sweet italian sausage
1/2 cup sliced bell pepper (I used half red and half yellow)
2 oz fettucini pasta (I used enriched vegetable pasta)
1 1/2 tablespoons Classy Pesto (recipe below)
1 1/2 teaspoons grated parmesan cheese
1/2 teaspoon flour
1/2 cup milk
1 teaspoon extra virgin olive oil
1 tablespoon pine nuts

Instructions
Bring pasta water to boil and cook pasta according to box directions.

In a medium saute pan, heat oil over medium high heat. Remove sausage from casing and brown- breaking up into bite-sized pieces- about 4 minutes. Add bell pepper to pan and cook with sausage until tender and slightly translucent- about 3 minutes.

Once sausage and peppers are cooked, remove from pan and hold in a bowl to the side. Returning pan to medium heat, add flour and stir constantly until all the juices in the pan are absorbed and the four is a medium brown color (we're creating a rue here, in case you're wondering). Add milk to the pan, whisking vigorously to prevent lumps form forming. Bring to a simmer and cook until bubbling and thickened.

Add pesto and parmesan cheese to the milk/flour mixture and stir to combine. Return sausage and peppers to the pan and toss with cooked pasta.

Garnish with pine nuts.


Classy Pesto
______________
(Yield: about 3/4 cup)

Ingredients
One huge bunch fresh basil (about 3 cups of leaves)
3 cloves garlic
3 tablespoons pine nuts
1/4 teaspoon salt
1/2 cup extra virgin olive oil

Instructions
Place basil, garlic, pine nuts and salt in the bowl of a food processor. Pulse a few times. Turn food processor on and pour in olive oil through the pour spout of processor in a slow stream. Voila- I mean- Presto!!


As mentioned above, I spooned my pesto into an ice cube tray to freeze. Once the pesto is frozen, I'll put all of the cubes in a ziplock bag and back into the freezer- at the ready for endless culinary possibilities!

I'd like to mention as a footnote that you should be very mindful, once you have removed your basil bunch from it's fresh-keeping glass of water, to not mistake said glass of water as one intended for human consumption. Not that I know from experience...

Sunday, May 8, 2011

Further Pinhole Experimentation

Well, good or bad, here are the results of my D-SLR pinhole experimentation (so far). Though the photos do not have the same razor-like focus that a normal pinhole would produce, I like the dreamy quality of it. The results include interesting flares, shadows, vignetting and distortions.


Wednesday, May 4, 2011

Pinhole 3.0

Me and the ol' pinhole photography concept go way back (at least to the more experimental years in my distinguished art school education). I loved the endless depth of field and the dreamy quality of the resulting images. We hand built our cameras from pretty sophisticated internet-bought kits (this one), then shot using medium format film, developed the film, and enlarged the prints.

In more recent years, I taught a pinhole photography class to children at a camp. In this case, we also made our own cameras, but this time from up-cycled cardboard packing boxes and duct tape. Our "film" was photo paper which we developed in a college classroom-turned rudimentary darkroom. Here's a couple of examples of this method:


Now, to get to the matter at hand- after all, this is not a blog of my past accomplishments (prestigious as they may be). I read a crazy idea of how to turn my beloved DSLR into a pinhole camera. I was quite skeptical but, I figured, I've got nothing to lose! Basically, I hammered a pushpin through the protective body cap of my camera, taped a crack caused by this invasive procedure, and then used the bulb setting (about a 50 second exposure) to capture my first digital pinhole photos!


Voila! I don't expect you to be impressed, but I'm excited to test this out in daylight- and what better opportunity than my upcoming trip to the beach (tomorrow).


Wednesday, April 20, 2011

In Stitches

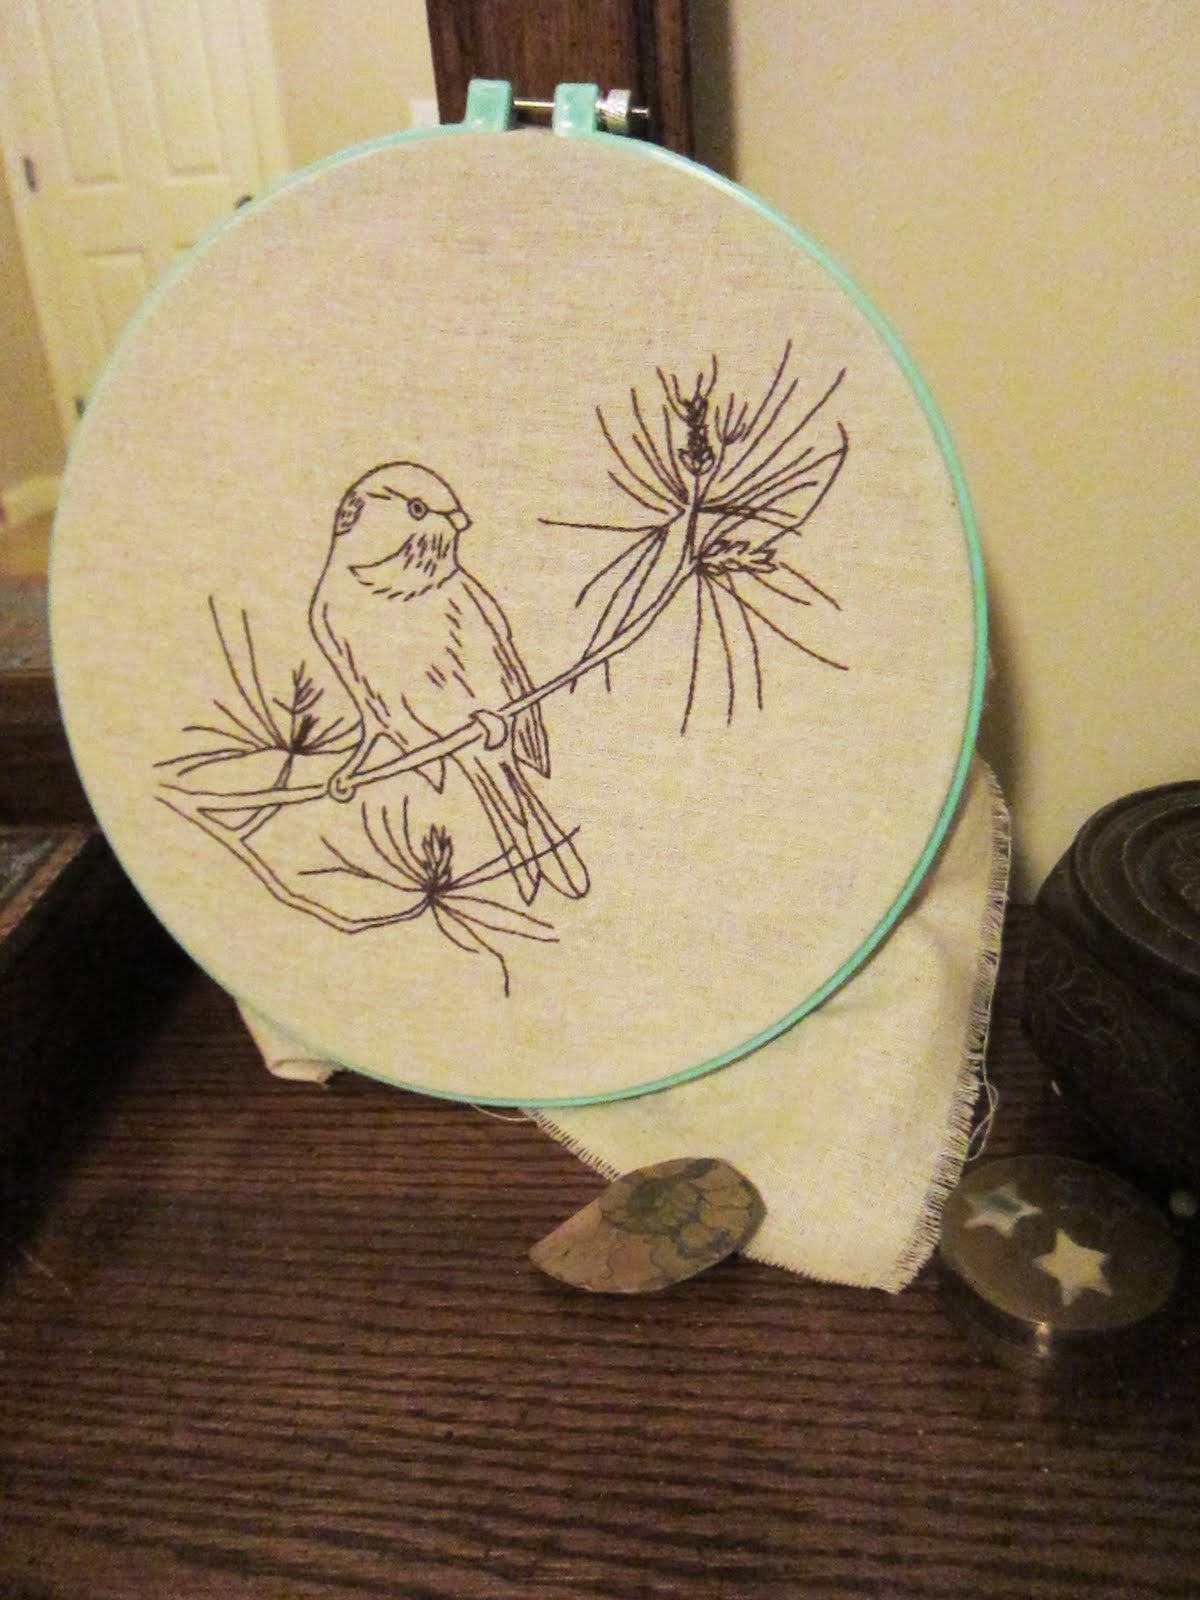
What room is complete without a collection of our proud country's state birds? This was a question plaguing me for longer than I'd like to admit- and then I came across this project.

I'm in the beginning stages of what is sure to be months of work...two words: bird quilt. The end product will be comprised of 30 embroidered birds.

They are simple line drawings and I have completed the eastern bluebird (of Missouri and New York) and the black-capped chickadee (of Maine and Massachusetts). 2 down, 28 to go!

I look forward to the night that I can wrap myself in national pride and sleep under this quilt!


Thursday, April 14, 2011

Adventures in Branding

Hooray for flexing graphic design muscles! I've really enjoyed helping the bestie come up with some ideas for her new photography business.

Ever since her hubbie got her a DSLR for her birthday she hasn't put it down! She's passionate and has an eye for lovely photographs. That said, we collaborated on some logo images of retro cameras. I love what we came up with and thought I'd share them on here!


Monday, April 11, 2011

A Frou-Frou Tutu!

As promised- the pics from my latest textiles project!

Though deemed a success technically, I'm sad to report that the intended model is terrified of her tutu (thus my shots are frolicking toddler-free).

I used the tutorial here for the construction, but with some variations. I bought three colors of tulle by the yard and cut it into 6" strips and then made varying lengths for texture. The knotting technique could not have been easier!


Bonus Photo:
The roses have bloomed in our garden and I couldn't be happier about it!


Sunday, April 10, 2011

A Monther*

*That's what I'm gonna call the space between this and my last posting.

In that amount of time I have become gainfully employed, gone on several hikes (breaking in my new kicks), made a tutu for the bestie's little girl (pics forthcoming), been on a wonderful out-of-state antiquing adventure, and spent time with people whose company I greatly enjoy.

I found two lovely books on said antiquing adventure which I am very excited about! One is the Better Homes and Gardens Treasury of Needle Crafts (1982) and Butterick's Needlework Classics (1976.) I can't wait to dive into the wealth of knowledge contained in these pages!


Quite a successful monther if you ask me...


(Other possible uses of the term monther: "Dude, I could really use a monther right now to clear my head," "It took her like a monther to tell me that story," or "Gimme a monther and I'll get back to you on that..." the possibilities are endless!)